In short
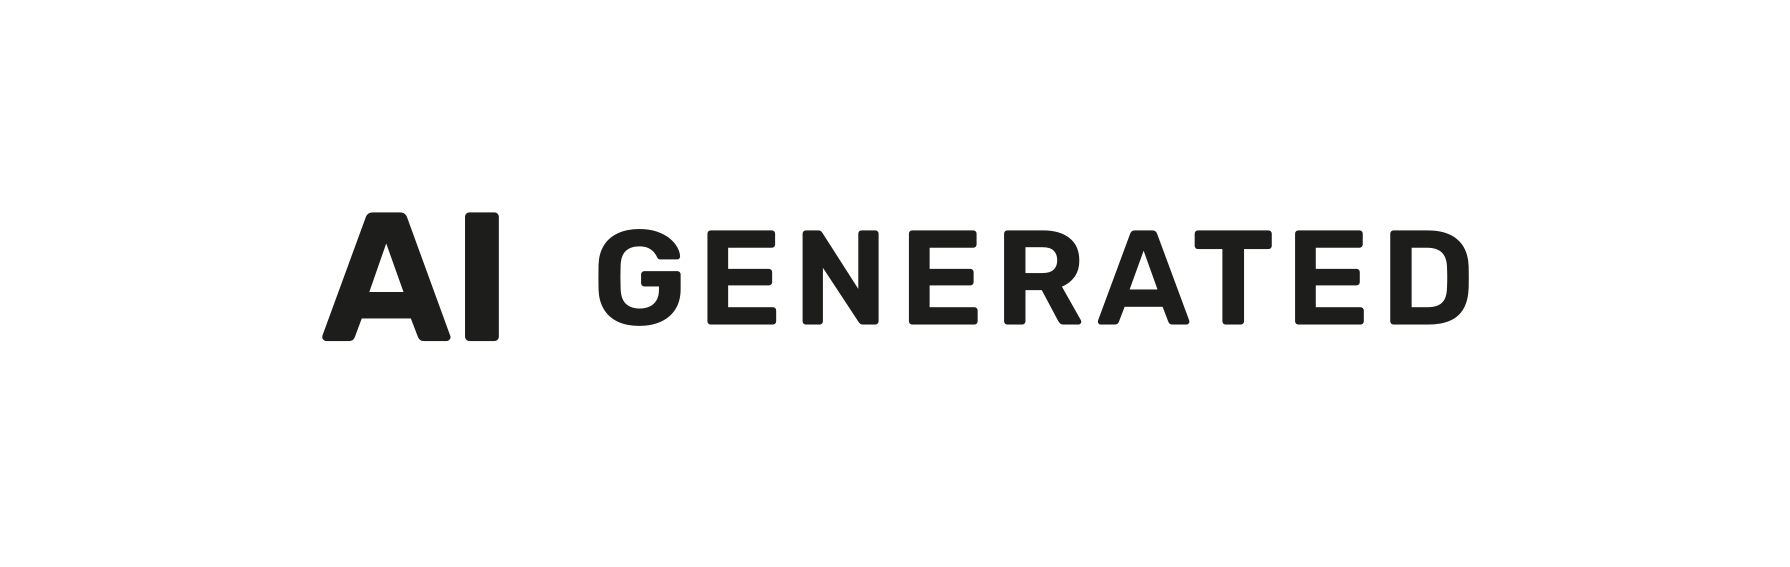
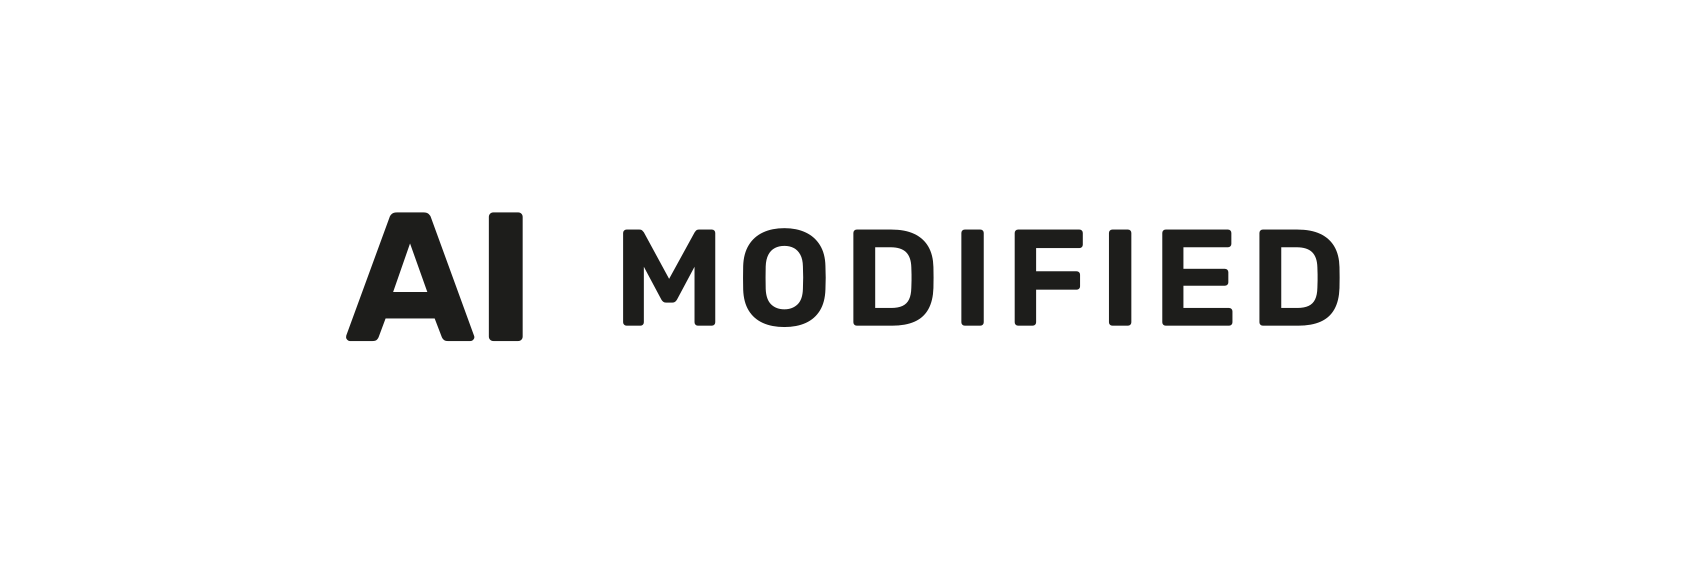
- Three icons: AI GENERATED (made entirely with AI), AI MODIFIED (a real picture partly changed with AI) and the basic AI, to pair with your own words.
- Four colours each: black, white, and both 50% transparent. No EU rule says which: pick the one that stands out.
- The icon says “AI”, in English, in every EU country unless a national language law requires otherwise. Resize it, never stretch it. The final Code sets no minimum size.
- The Code's example spot is the top right corner, drawn into the picture, clear of overlays, seen at first glance.
- Free for everyone, no credit needed. Using the icons doesn't by itself make you compliant.
- Get the official SVG and PNG files below, or use the EU AI image label tool.
The three EU AI icons, and when to use each
The icons come from Annex 1 of the Code of Practice on Transparency of AI-Generated Content, final since 10 June 2026.
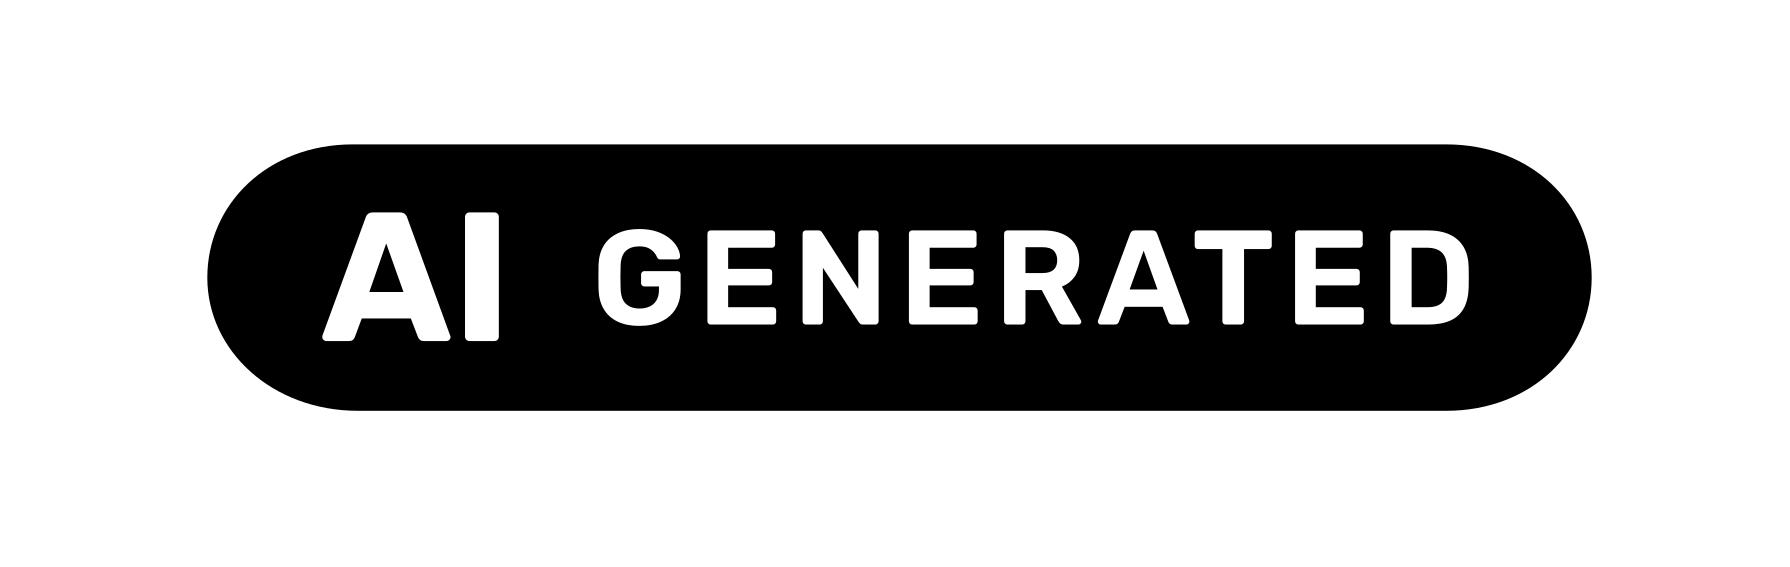
AI GENERATEDFully AI-generated
For a picture made entirely by AI, with no human-made part other than the prompt.
- Black
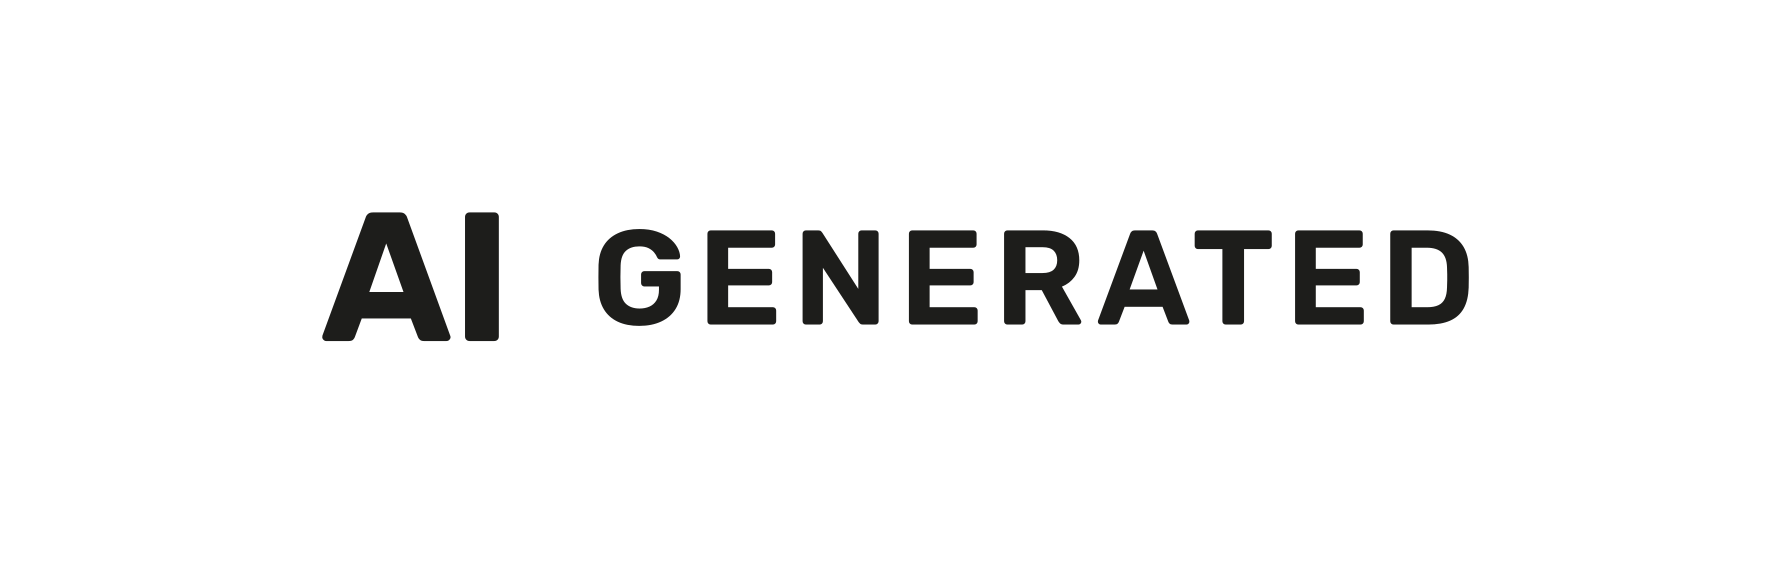 White
White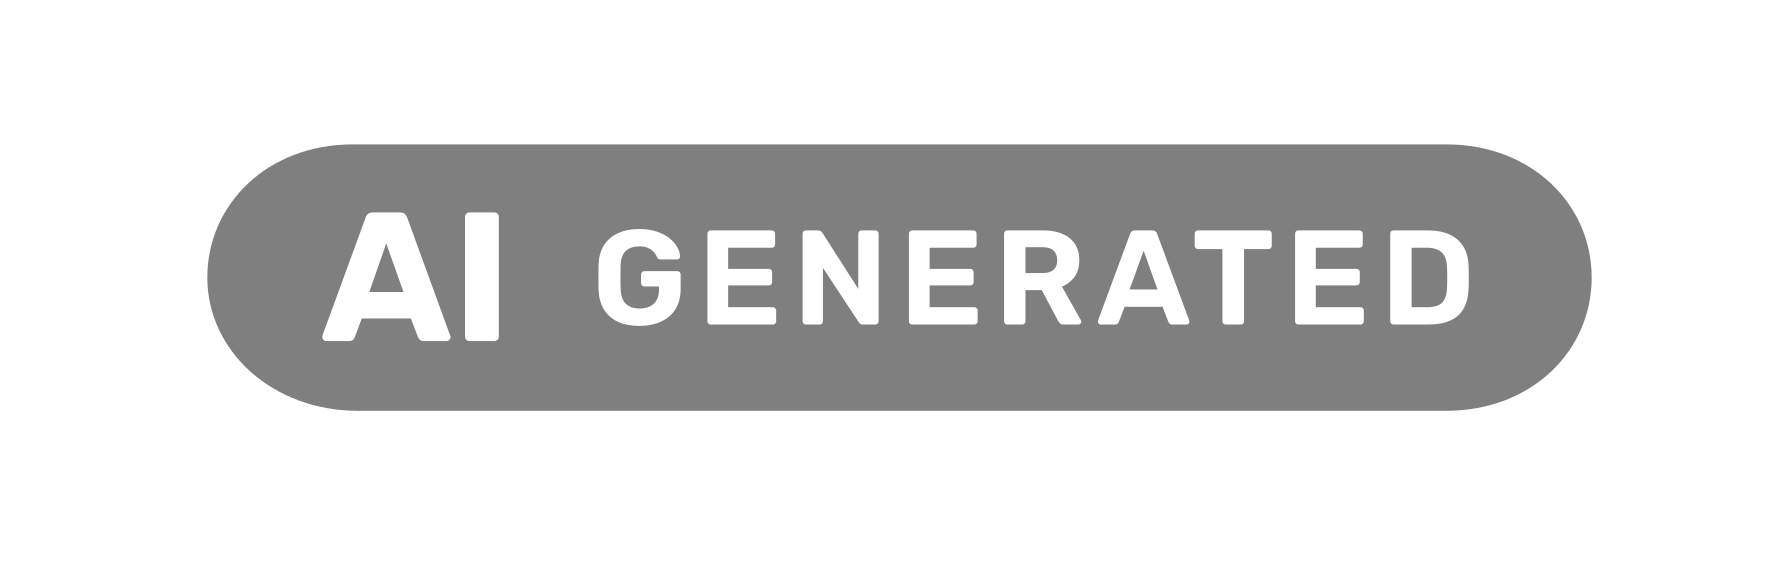 Black, 50%
 White, 50%
Example: a photorealistic image of a politician at an event that never happened.
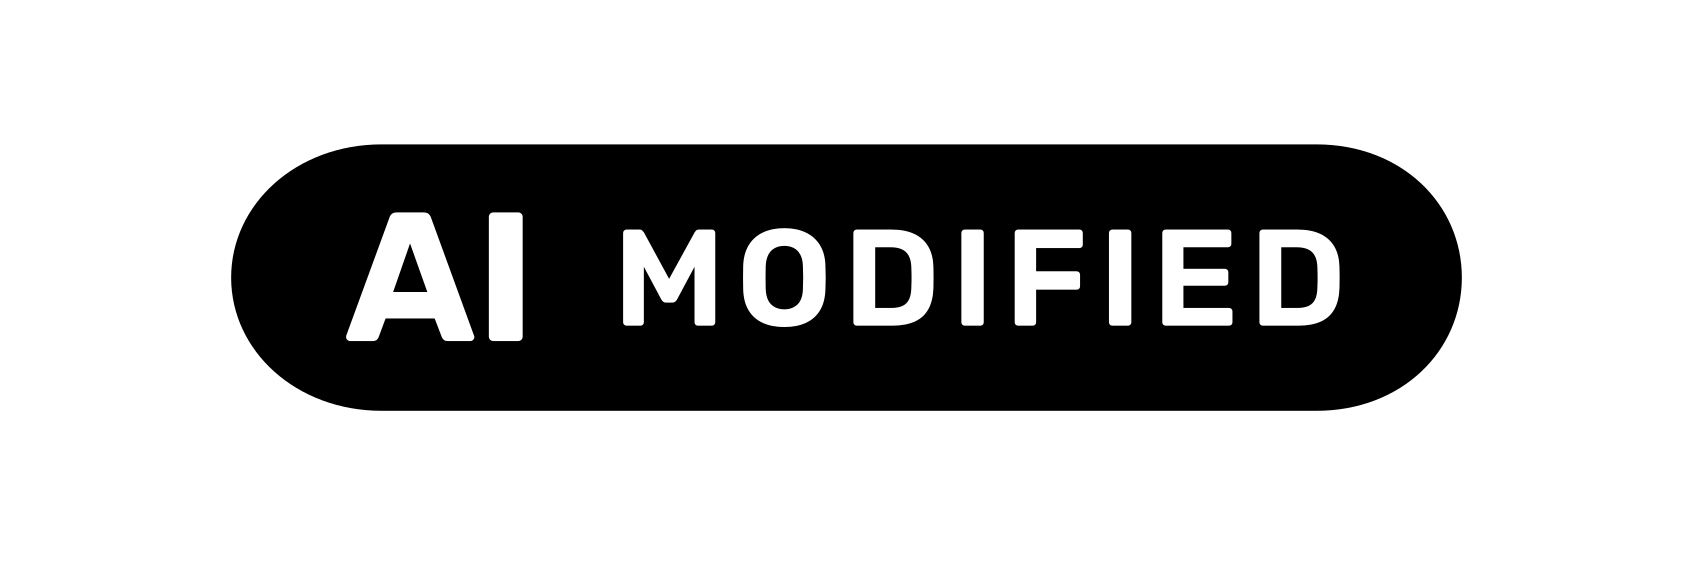
AI MODIFIEDPartially AI-modified
For a real, human-made picture partly changed with AI.
- Black
 White
White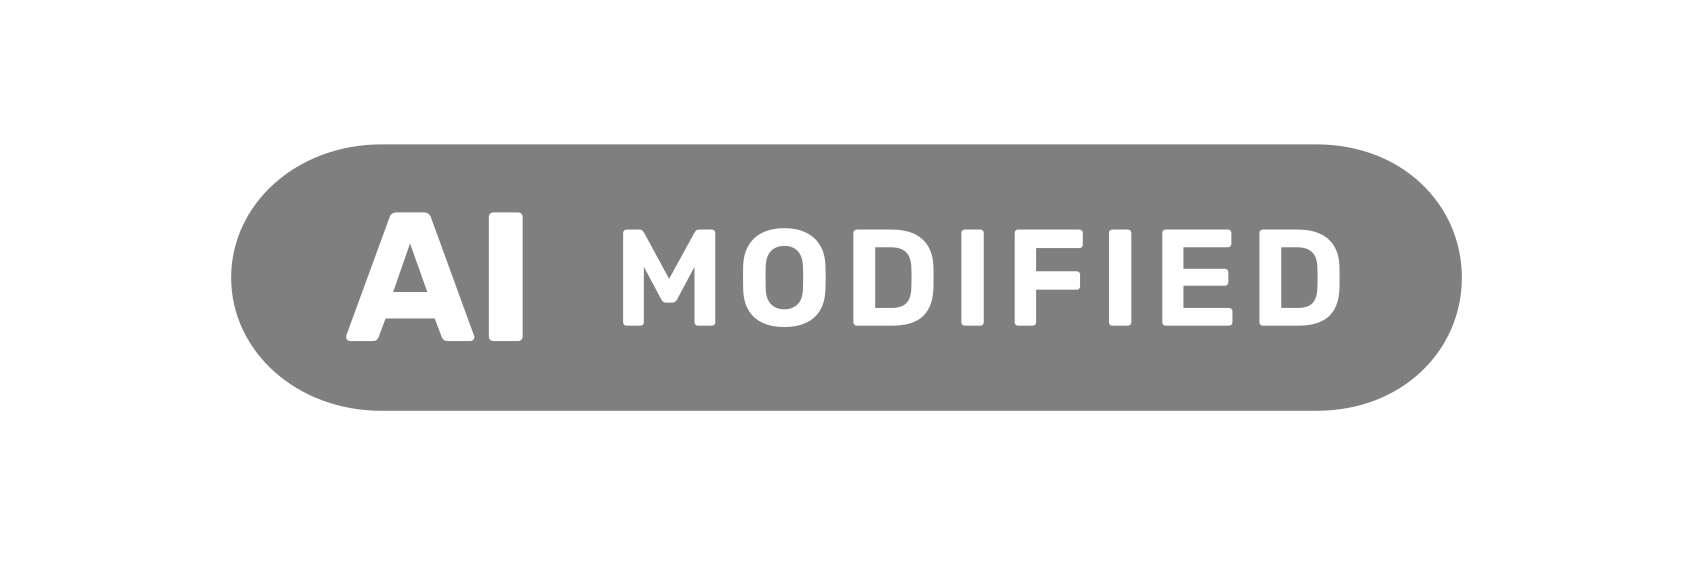 Black, 50%
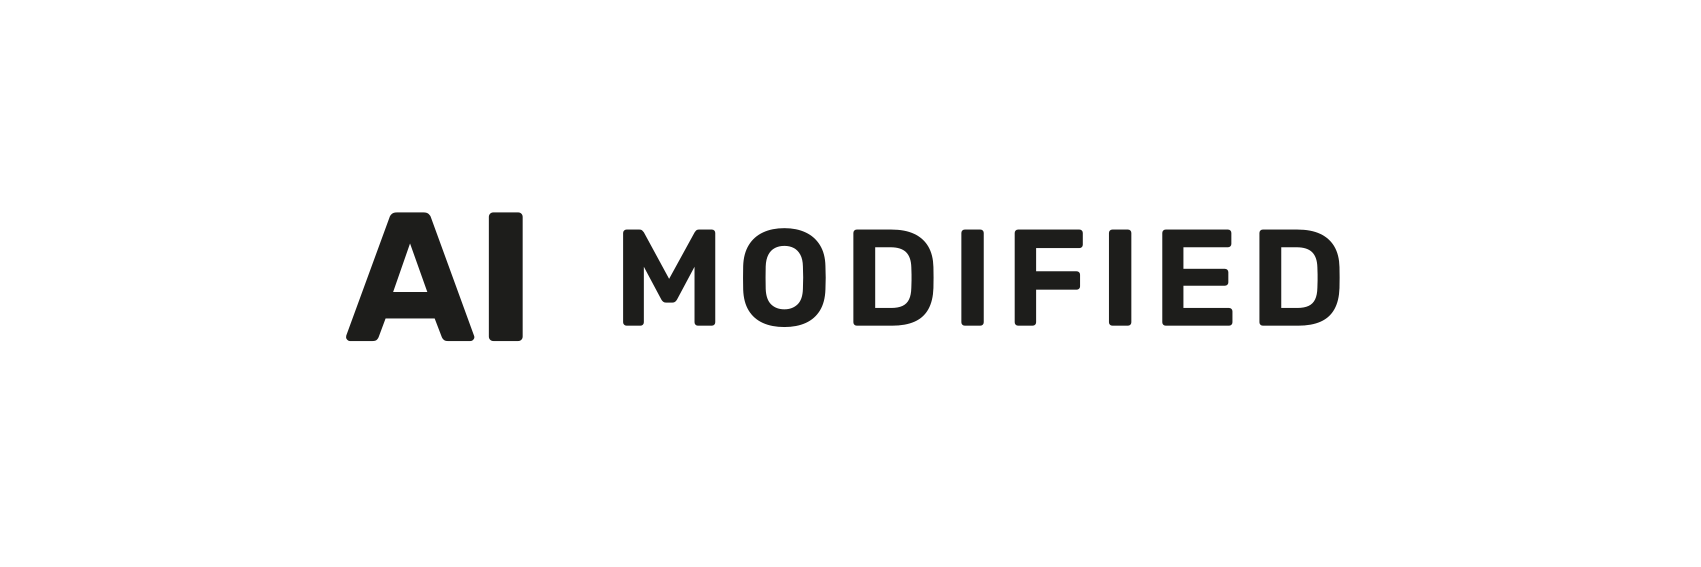 White, 50%
Example: a photo of an empty flat, furnished with AI.
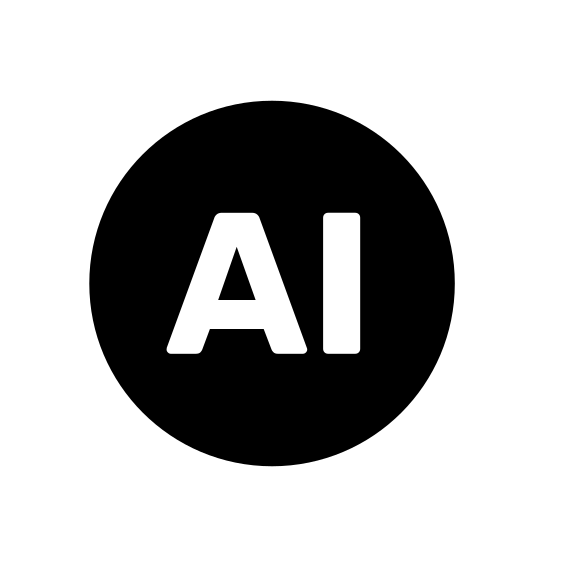
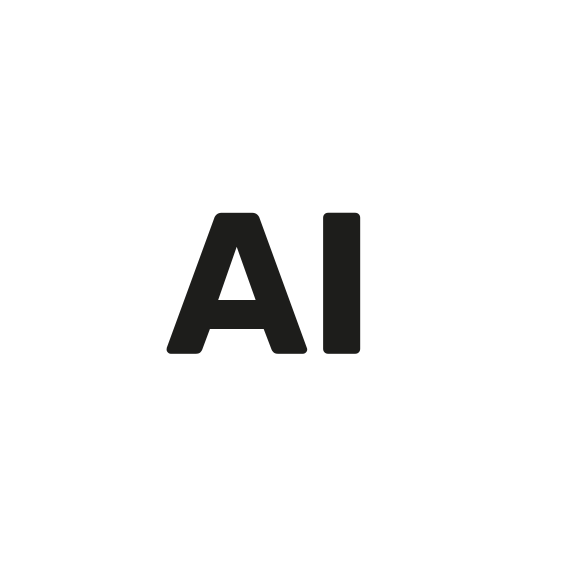
AIBasic icon
When AI was involved, paired with your own words (“face generated with”) or an extra layer that tells more.
- Black
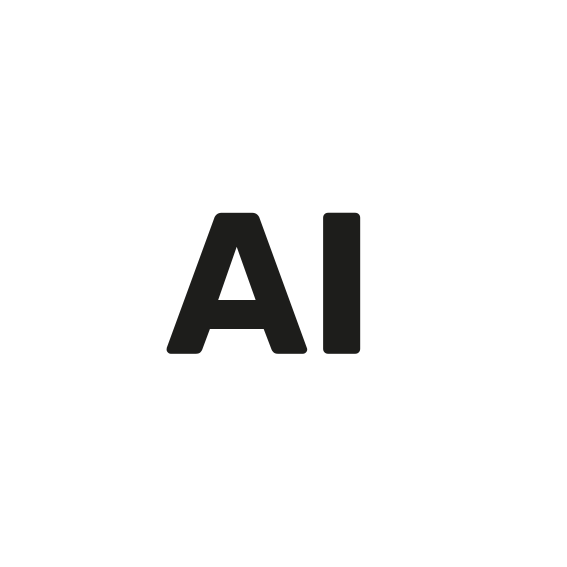 White
White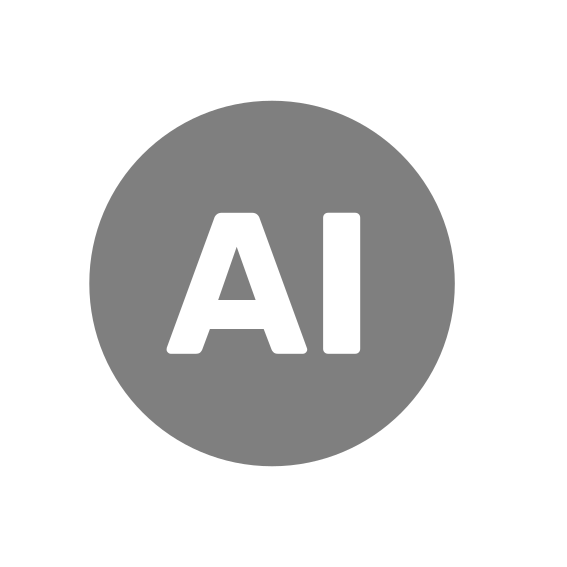 Black, 50%
 White, 50%
Example: “Background generated with” followed by the icon.
The Commission's other examples: a deepfake video of a politician, or of an event that never happened, for AI GENERATED; a face in an authentic photo swapped for a politician's, for AI MODIFIED; a video labelled “voices generated with”, followed by the basic AI icon.
| Your picture | Icon |
|---|---|
| Generated from a prompt | AI GENERATED |
| A real photo with a face, person or object changed by AI | AI MODIFIED |
| A real product on an AI-generated background | AI MODIFIED if you label it: often not a deepfake if it doesn't mislead |
| Light AI retouching: colour, a passer-by removed | Usually no label required (Guidelines, para 116); AI MODIFIED if you label it |
| You want to say exactly what AI did | AI with your own words, such as “Face generated with” |
Black, white or 50%: which colour?
Each icon comes in black (white letters on a black shape), white (dark letters on a white shape), and both at 50% transparency, where only the shape behind the letters is see-through.
No EU rule says which to use. The Code asks only that the icon “remain visible against any background” (Sub-measure 1.2.1(d)), with high contrast. So look at what lies underneath: black on light areas such as sky or a white backdrop, white on dark ones such as night scenes or shadows. The 50% versions are subtler: on a busy or mid-toned background their letters can get lost, so use them with care.
The tool's Automatic setting measures how light the picture is where the label lands and picks black or white, image by image. It also flags a label that may be hard to see.
Why it says “AI”, and how to add your own words
The Code's design rule (Measure 1.1(a)) makes the capitalised English acronym “AI” the icon's main element. A national acronym such as IA or KI is allowed only where English would conflict with a national law on language use in commercial or administrative matters. The Commission publishes the artwork in English only.
The words around it can be in any language. The Code encourages saying whether content was generated or modified, and even what changed (Measure 1.1(b)). User testing across several Member States, reported in the Code's Annex 1, found that versions with a clear text label performed “significantly better” for noticeability and clarity. For anything more specific, put a short plain-language line beside the basic AI icon, not inside it: “Background generated with”, then the icon.
How big should the icon be?
The final Code sets no minimum size. It asks for an icon that is clear and distinguishable in its context (Measure 1.1(c)), and the Commission's page says “a clearly visible size”. The firm rule is about shape: “if resized, the proportions of the letters must be preserved” (Measure 1.1(a)). Scale the icon as a whole; never stretch, squash or crop it.
The tool starts with a label 5% of the image's shorter side (3% to 25%), never under 24 pixels, 3% from the edges: about 86 pixels tall on a 1080 × 1350 Instagram portrait. Then check it on a phone.
Where to put the icon on an image
The Code gives one example: “in the top right corner of an image or video deep fake”, where “no intervening overlay elements exist” (Sub-measure 1.2.2(a)). Another corner works too, as long as the icon stays clear. The other rules (Sub-measure 1.2.1):
- Embedded in the content, or shown by an equivalent overlay. The Commission adds that it must stay visible when the picture is reshared or downloaded: a label drawn into the pixels does.
- Seen at once, without clicking or hovering, at the latest when someone first sees the picture.
- Room around it: space from other overlays and captions, and visible against any background.
Apps lay buttons over pictures; top right tends to avoid most of them, and on tall 9:16 pictures the tool keeps corner labels clear of the app's bars. AI labels on social media goes through each platform. Evidently artistic, satirical or fictional works may carry the disclosure just outside the frame or in the credits (Commitment 3).
What you may and may not do with the icons
The Commission makes the icons “publicly available for everyone to use freely”, with no credit to the Commission or the AI Office. Two limits: using them “does not establish legal compliance by itself”, and using them without signing the Code doesn't signal adherence to it.
You can
- Use them free of charge, without credit
- Resize them, keeping their proportions
- Choose any of the four published colours
- Add your own words beside them
Avoid
- Stretching or recolouring an icon, or redrawing its letters
- Using an icon as your logo or trade mark
- Presenting it as a seal or an approval
- Saying it makes an image “AI Act compliant”
The icons may evolve: the Code's signatories set up task forces on 30 September 2026, with working groups on an interactive second layer and an audio icon due to start in January 2027. Check the Commission's page now and then.
Make the label readable by screen readers too
A label drawn into a picture is pixels: screen readers can't see it. The Code asks for disclosure that assistive technologies can detect (Section 2, Measure 1.1), and the Commission's page suggests alt text or ARIA labels. So:
- start the image's alt text with “AI-generated image:” or “AI-modified image:”, then describe the picture;
- on social media, say it in the caption too;
- on a website that shows the icon as its own element, give it an alt text or ARIA label such as “AI generated”.
Download the SVG and PNG files, or add the icon in your browser
The Commission offers two ZIP files of 12 files each: the three icons in the four colours. The SVGs draw the letters as shapes, so they stay sharp at any size; the PNGs are about 2,363 pixels tall.
The official files and texts
 EU icons, SVG files (ZIP)12 SVG files
- EU icons, PNG files (ZIP)12 PNG files
- EU icons for labelling AI-generated contentThe Commission's icons page, updated 13 October 2026
- Code of Practice on Transparency of AI-Generated Content (PDF)Final text, 10 June 2026; the icons are in Annex 1
- Guidelines on Article 50 of the AI Act (PDF)European Commission, 20 July 2026
- AI Act, Article 50On the AI Act Service Desk
Or use the EU AI image label tool at the top of this page: it draws the Commission's SVG files unchanged, only resized, in your browser. Its optional IPTC AI tag doesn't replace the visible label (the Commission's Guidelines, para 117); Detect AI-generated images explains such tags.
- Add your images
Up to 100 at once, in JPEG, PNG, WebP, AVIF or GIF.
- Choose
The icon, then a colour or Automatic.
- Place
Top right, any corner, or drag it on each image.
- Download
One image, or all of them in a ZIP.